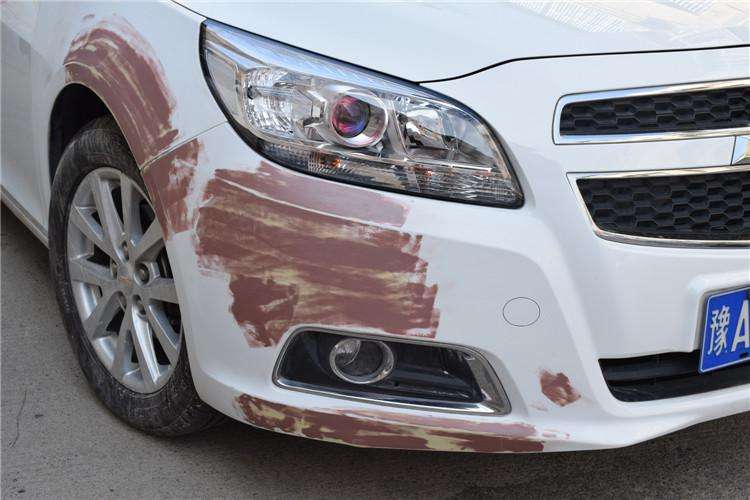
What is the process flow of car repair paint
Car paint is usually baking paint. After the welding of the car frame and body is completed inside the car manufacturing factory, the next step is painting, generally speaking, the first step is primer. Dip the eggshell into a syrup shaped bathtub and remove the baking primer.
Then it is sent to the cleaning workshop and sprayed with paint using the electrostatic spray painting process. Then dry at around two hundred degrees. To complete more refined processing, you need to apply a layer of varnish. In this way, the process of painting is over.
Its process is not as messy as you imagine, and the following are the relevant processes:
1. Cleaning and judgment
After cleaning the vehicle, identify the type of old coating, evaluate the degree of damage to the workpiece, and determine the repair process.
2. Covering and degreasing
Cover the damaged area with masking paper and remove any oil stains from the area that needs to be polished.
3. Remove old paint and polish
Select suitable sandpaper and sanding machine to clean the old paint in the damaged area and polish it to the feather like edge.

4. Apply putty
After cleaning the workpiece and removing oil stains, select an appropriate amount of putty to scrape and dry with an infrared lamp.
5. Polish putty and old coating
Use a suitable sandpaper to smooth the putty with a sanding machine or manual sanding block. If it is necessary to apply putty again, it should be applied in a timely manner to absolutely prevent rework due to putty issues in the future.
6. Cleaning and degreasing
After polishing the workpiece, use an air gun to blow off the dust on the surface, use a degreaser to clean the area around the putty, and finally cover the area where the primer is required during spraying.
7. Spraying primer during spraying
If there are exposed metal parts on the workpiece, rust prevention treatment should be carried out first. After the rust prevention primer surface becomes dry, two to three layers of paint should be sprayed on the primer before it becomes dry.
8. Apply indicator layer and apply primer during polishing
After the intermediate layer is completely dry, apply or spray the indicator layer, and then select a suitable sandpaper and sanding machine to polish the primer.
9. Grinding the transition area
Based on the damage situation of the board, the correction process we selected is the board correction process. Therefore, in addition to polishing the skin flap, adjacent doors also need to be roughly ground.
10. Cleaning
After polishing and checking that there are no problems, clean the surface with clean water and blow dry.
11. Protection and degreasing
Secure the working components around the mudguard and front door using masking paper and masking tape. Then thoroughly clean the mudguard and degrease it.
Article source: Automotive repair paint http://www.m.xywangpai.com
-
08-25
Common problems with automotive repair paint
Why are the orange lines on the surface of the varnish so heavy after each spray? Why on earth? How can we prevent a decrease?Answer: The thinness of the varnish, the amount of paint produced by the s
-
06-05
The car repair paint manufacturer told you about the problem with water-based coatings
1. How long does it take for a skilled paint coating technician to master the operation of water paint?Generally, practice and understanding with less than half a sound can be mastered, and proficienc
-
05-31
Qingyuan Automobile Repair Paint Company tells you the steps for painting
Automotive Painting Process(1) Rust prevention and internal painting of the vehicle body: Depending on the condition of the vehicle body, it will be completed by a sheet metal worker.(2) Polishing and
-
05-12
Why does car repair paint lack luster?
If there is a lack of gloss on the surface of the originally flat and smooth car paint surface, especially during the process of car paint care, it can be observed under a microscope that the surface
